Sunday, September 30, 2012

What A Reese's Peanutbutter Cup Wants to Be!

 Peanutbutter Balls


These delicious poppable bites of peanutbutter and chocolatey goodness will disappear from your fridge within days! This is a family recipe that has been keeping everyone happy around the holidays for years. This time around I made them for my friends Krissia and Ana-needless to say the treats won't be around for long.

For this recipe you will need powdered sugar, peanutbutter, a stick of butter, and melting chocolate from the store. ( I used candiquick this time. The original recipe calls for chocolate chips and paraffin wax in a double boiler, but the store bought chocolate is a nice time saver!)

1 stick of butter
1 cup of peanutbutter
1 cup of powdered sugar (half of the typical box)
Melting chocolate I use about 2/3 of what is in the package


First melt your butter in a large bowl


After the butter is melted, mix in a cup of peanutbutter.


Now add about a half a box of powdered sugar, or just until it comes together pretty well. You will want it to come together enough so that you can roll it easily. I like to do the half of a box and then put the mixture into the fridge so it becomes firm.


Now roll out your peanutbutter balls. I like to have either a piece of wax paper or a piece of tin foil sprayed with non stick spray.

Melt your chocolate. Make sure to stir it between the microwave times and not leave in the chocolate for longer than 30 second intervals. You don't want to burn your chocolate.


Once the chocolate is melted you can use a toothpick to dip your peanutbutter balls in the chocolate.

The peanutbutter bowl got some attention from my friends haha


After dipping all the balls in chocolate, and licking the mixing forks a few times haha, put the candies in the fridge so that the chocolate can harden. Keep the peanutbutter balls refrigerated. ENJOY!

These really are oh soo good!


 Happy Baking!


Sunday, September 23, 2012

It's What Is In The Hand

I have been searching for weeks for the perfect paper to use for my business card. I ordered a pattern I loved on 80 lb paper hoping it would be solid and sturdy feeling. Apparently 80lbs is the average weight for paper that gets used for business cards. There was this beautiful taupe ecru pattern, but upon receiving the paper and printing out test cards I decided that 80lbs creates a far too flimsy business card.


There is a psychological factor in what you receive from people. In my media lit. class in high school we read a study that discussed a scenario where a person was handed either a cold drink or hot cup of coffee by someone they had never met before. The scenario played out in such a way that the person with the drink would need the other person to hold their drink for a moment. Those asked to hold a cold beverage later described the person as being cold, and those who were asked to hold a hot drink found the person to be warm later on.

Aren't these so cool?

I can not help but assume that his can apply to what kind of business card you are handed when you meet someone. If that person receives a flimsy business card then they would associate you with not being substantial whereas I want them to feel that I am a person of substance. I want to hand them a card that is as sturdy and dependable as I am.


While I was searching for a company with patterned 100lb paper, I came to the conclusion I would simply have to make my own patterned paper. So now I am in the process of making my own pattern on illustrator.
 
Along the way I discovered several other methods used in creative business cards. One company, called Pure Metal Cards , laser cuts their business cards from sheet metal. I am sure that they give a lasting impression, however at over six hundred dollars for 200 hundred cards, I think I will be sticking with paper. I do really like the idea of a stainless steel card, I am sure if you are handed one you won't want to throw it out, I know I would not!


Keep an eye out for next week's post! It's going to be a sweet one!


Wednesday, September 19, 2012

When I Grow Up.....

I often feel like as a young person I should be doing amazing and crazy things with my life. Ever since I was little I have always set huge, seemingly unattainable goals. Among those goals there was the third grade "I am going to go to HARVARD!!" phase (probably because it was the only notable college I knew of at the time), the I am going to be a vet and save all the animals in the world phase, and the quintessential phase of all little girls, where you tell people you are going to grow up to be a pretty pretty princess.

Remember this game?

Now as a college student it is becoming quite clear to me that all those dreams are much closer now, but despite being at the point in my life where they should be tangible they are more of a mystery.

So here I am, as a result, going between a million options of what I could do and should do! I know tons of people change their majors and plenty transfer schools before they find their niche. I currently major in metals, but find that I am interested in other majors too.

I think that the most important thing in work and majors is finding something that makes you want to wake up every morning and feel excited to go to work. I feel passionate about creating, it is just a matter of applying it correctly. I feel like these days people are stressed out over choosing a major more than ever because we are no longer certain about the economy.


I actually heard a lecture last week where James Gilmore, author of The Experience Economy,  was discussing the basic structure of our economy. He said that he believed that current instability in the economy was a result of not shifting into an experience economy where companies and businesses sell experiences, not just commodities.

With an economy that is shifting to ever lower cost in production and cheaper and cheaper commodities you have to wonder what kind of jobs will result from a different kind of economy, like what James Gilmore proposes.

Sunday, September 16, 2012

In The Studio- Using the Hydraulic Press

I usually put up DIYs or some other craft related item, but this week I wanted to take you in to the studio with me. My assignment this week was to create a piece of jewelry using the hydraulic press to create three dimensional forms.


This pendant is made from copper and the copper portions of the chain are hand made and formed with needle nose pliers with seed bead accents. The silver portions of the chain are store bought, but hand assembled.

In case you were wondering this is a hydraulic press :)

So in order to make this I had to cut out some shapes from plexiglass using a spiral saw. The first saw I was using ended up breaking because I was sawing so fast it melted into place and snapped right in half when I was taking it out!


In this close up you can see the three individual pieces that make up the pendant. I decided on connecting them with rivets because I felt that it related better to the organic shapes that make it up. Each piece of copper is textured differently all using the same method by using the sharp edge of a riveting hammer.


I am really excited about the hydraulic press, I like what it can do. It is so nice to have such dimensionality in this pendant. I feel that though it is a simple piece it finds its interest in the simple details, like the texture and the puffed up forms.


Monday, September 10, 2012

Halloween Decorations: DIY Franky Jr.

This time of the year things seem to start going really fast, especially with the school year starting! Here is a project you can start now and dedicate some time to over a few weeks to complete. In total it took me around 4-5 hours to make this little guy, however I have worked with these tools before and used a blow dryer to hasten the drying time of the paint.


*I suggest this project only for people experienced in power tools*
*Improper use of tools could lead to injury* 

Here's what you will need

Two fake pumpkins (one large and one smaller), doorknob hangers, glue, saw/power saw, black and green paint/paintbrushes, a black youth sized t-shirt, two small wooden objects (like miniature pickle barrels), a sharpie or other marker, and black and white felt. In total it cost me around $35 for the tools using coupons and keeping in mind I already had glue and the power saw.


The first step in making your own Franky junior is cutting a hole in the bottom of the smaller pumpkin so it will sit nicely on the larger pumpkin. To cut in first make an incision using the tip of the stationary saw (mine had a nice sharp tip for carving) and gently nudge it inside, now proceed using your power saw. (You could use the regular saw, but I found it easier and faster to use the power saw)

**You will want to do the sawing in a well ventilated area because there is a lot of "pumpkin dust" from sawing.**


Check to make sure the hole is large enough before moving on. If it is not simply cut it larger.


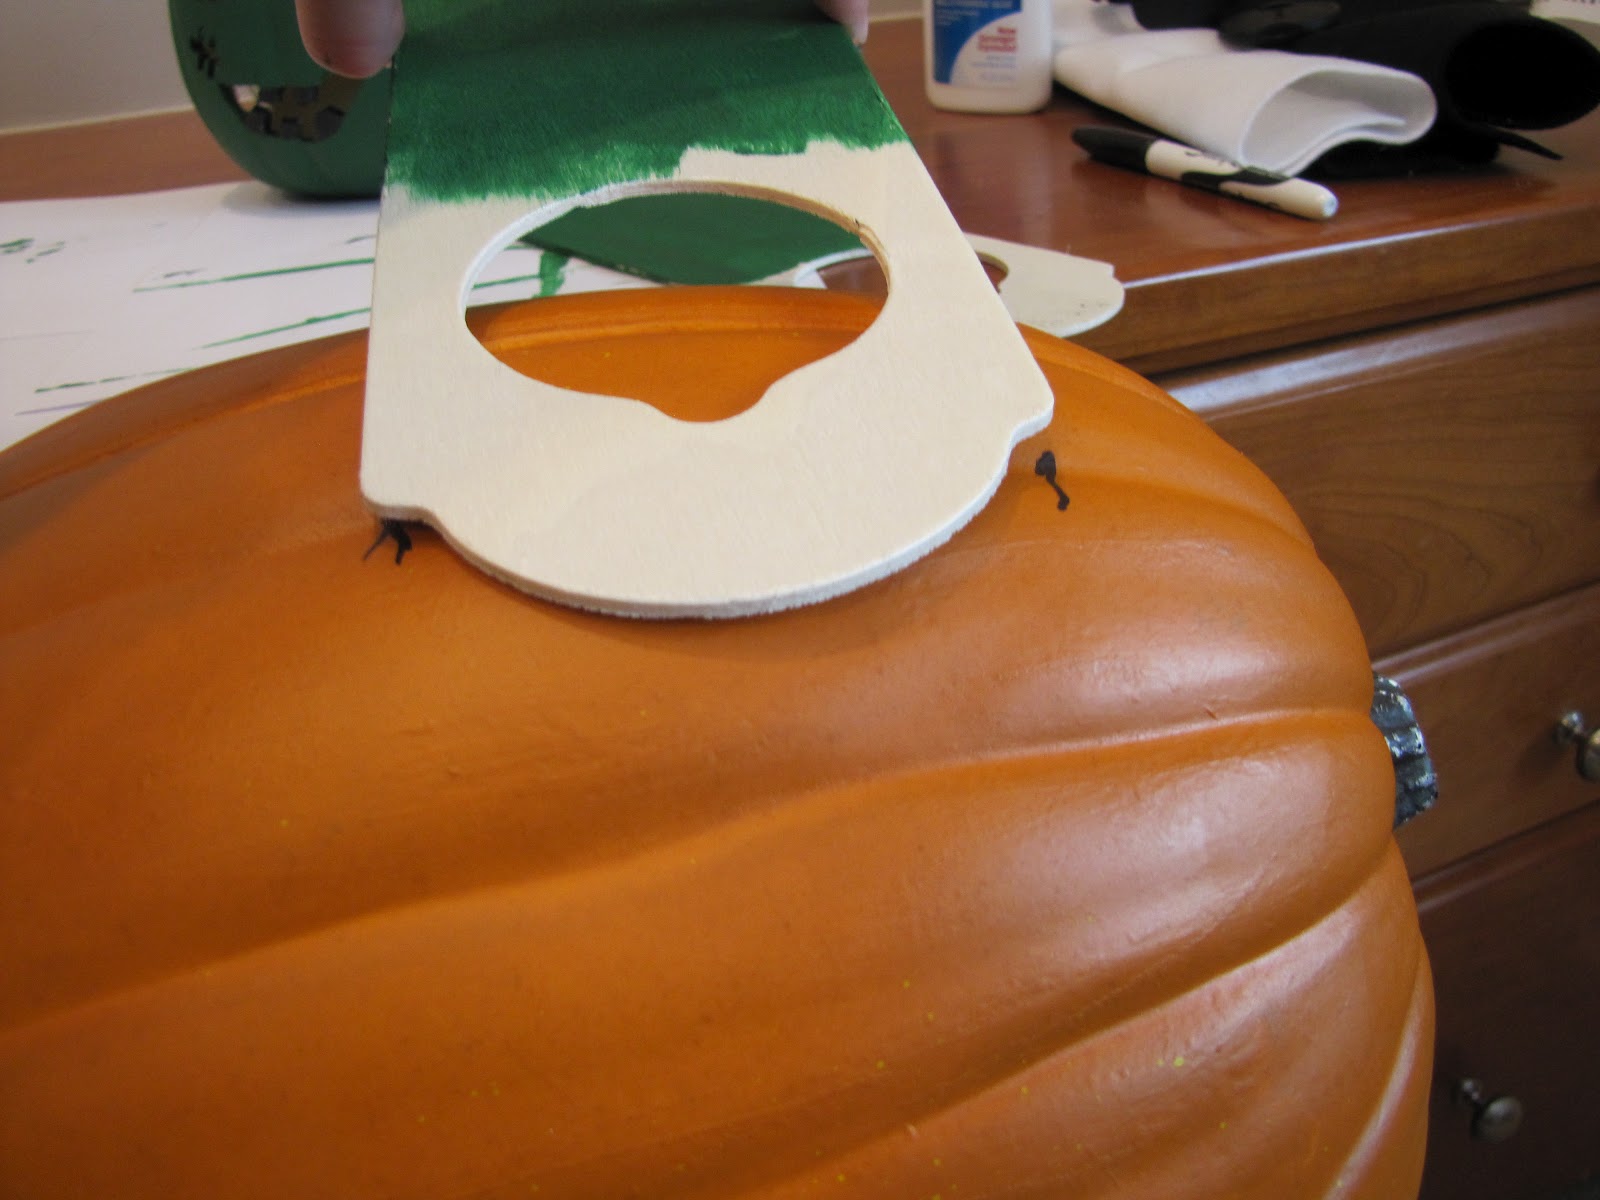
Next draw circles by tracing the miniature pickle barrels on either side of the head.


I drew them in two locations, one set higher and the other lower before deciding that the lower would look best.


Make sure to follow instructions on the power saw as directed. **Once again I suggest that you only do this if you have worked with these kinds of tools before and will be knowledgeable and comfortable doing so** I found it easiest to start from the center of the circles and then create a straight line to the edge and go around the circle.


You will want to make sure they fit snugly in the holes.


Now it is time to give Franky a face. Go ahead and draw him as you like! It makes it easier when cutting if all the areas that are going to be cut out are filled in black so that you will cut the right areas. You may notice in this photo that Franky has had a little haircut, I decided to cut off his stem to use for his nose later on. 


Now begin cutting out his facial features. If you have skinnier areas such as the stitches cut out those first so the structure can support it. I went ahead and cut out the stitches in rectangles, first cutting out the center.


Now that the face is cut out it is time to paint Franky's face so he has a nice ghoulish glow!


About two coats of green paint covered the pumpkin nicely. While the face is drying you can take this time to paint the miniature pickle barrels black, the doorknob hangers green, and the cut off stem green. Once the pickle barrels and step top are dry glue them into place.


 While everything is drying, you can put the shirt onto the larger pumpkin to begin considering where the arms should go.


If you use a blow dryer you can have the "arms" dry faster so you can use them to mark where the next cuts should be.  Where you marked you will cut a long and thin rectangle shape like the shape of the edge of the doorknob hanger. 

I cut the wood using a pair of scissors so it would fit nicely into the slits on the pumpkin.  I cut out the upper corner so that that the other half was completely intact. Glue these into place.

***NOTE*** You are cutting the wood at your own discretion and should do so carefully.***


Now it's time to give him a tux. You can do this by cutting out a large triangle of white felt and gluing it onto the pumpkin.


Once the white felt is on securely cut out a tie shape from your black velvet and glue it on.


It is helpful to put Franky's head on while you figure out where the tie should go so you know that it will be in the right place.  


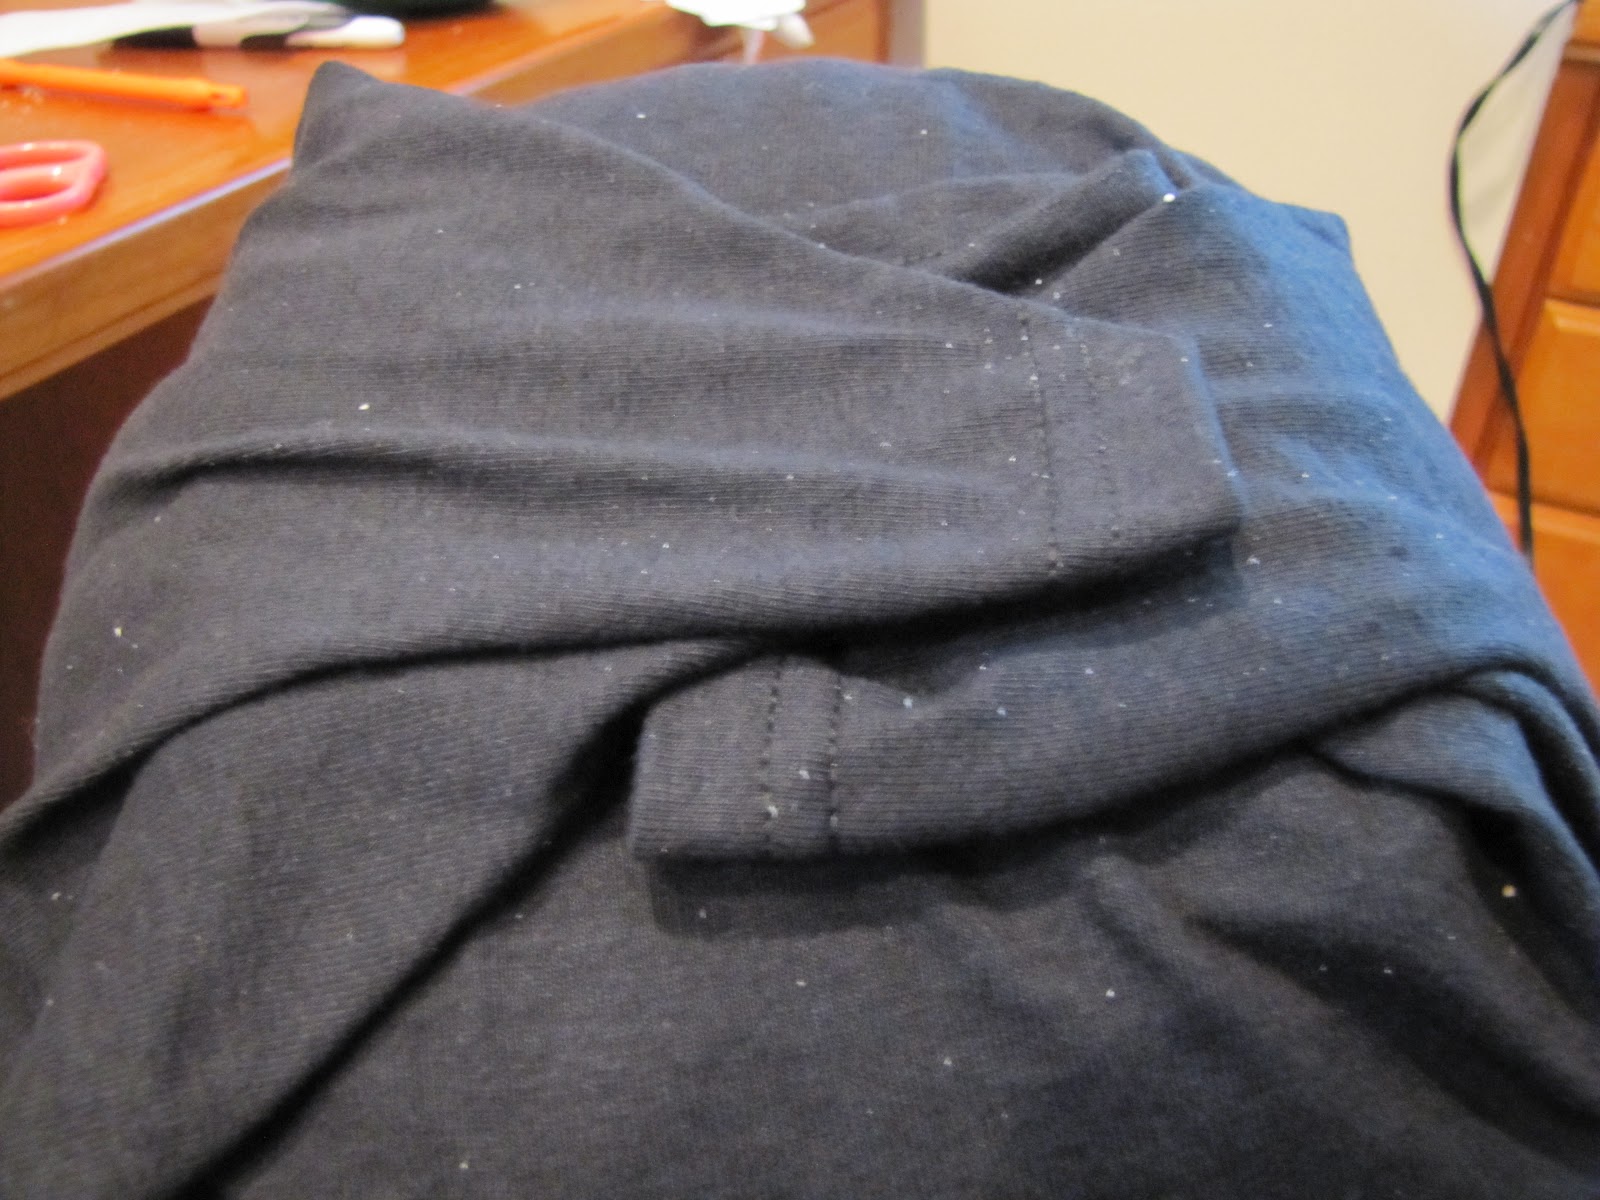
For the rest of the tux you will need to cut a slit down the front of the black t-shirt. I cut it almost all the way to the bottom so I could slip the shirt up the pumpkin and around the arms. 


Now fold in the edges on the top and glue them down onto the felt to create the jacket look.


After gluing down the top parts onto the felt fold the fabric slightly on the rest of the cut portion inside. Glue this down to create a clean looking seam.


Fold the rest of the fabric underneath the pumpkin to cleanly finish the body. Glue the fabric in place again.


Now it is time to give Franky some hair ! To do this I cut several sections of black felt. First a long strip to go around the back of his head stopping on either side above the "screws". By cutting a slit in the back you can create a smoother application of the felt. By gluing everything down in pieces the overall look is smoother on the pumpkin.


Now cut out two smaller pieces of felt to act as sideburns.


Now cut a piece for the top of the head. I cut out a shape similar to the ghosts on pac man. I placed it on the head and draped it to figure out how to cut the bangs.


Cut a slit in the back like you did the other piece to help the hair lie nicely on Franky's head.


To bring out the details I painted the pupils and teeth black.


Now all you have to do is glue the head onto the body!

There you have it, your very own Franky Jr. he would look adorable around the house for a party and could easily 'guard' your candy bowl. 

Happy Crafting!